Ky Michaelson's 007 Rocket Belt

Some of the readers of this site might wonder why I am building a new Rocket Belt. My answer is simple. If I can improve something that I have built in the past, I will. That's if I still have interest in the same project. Right now I am highly motivated and have a passion for Rocket and Jet Belts. I truly want to share this passion with others.

I want to point out that I am no expert, but I am a gifted builder. Over the years I have learned a lot about Hydrogen Peroxide rockets from James McCormick, Bill Frederick, Dick Keller, Ray Dausman, Craig Breedlove, Doug Malewicki and Andy Cubica.
The big thing that I have going for me is I have over 40 years of practical experience building and racing rocket powered vehicles.

I am pretty confident that no one on this earth has built more Rocket powered vehicles then I have. I have named my new Rocket Belt "The Ky Michaelson 007 Rocket Belt" not because of the James Bond movie, but because over the years the number 7 has turned out to be a lucky one for me.

It is my goal to take lots of pictures of my new 007 Belt as I build it and share them with you. For those of you that have the same dreams and aspirations as I do, hopeful this project will help you out. I am not saying this is how you should build your Rocket Belt. But it is how I would build a Rocket Belt.

Please be careful to get as much information on your own so that you fully understand what you are doing, before you start building your own Rocket Belt.

Ky Michaelson
Rocketman Since 1951

STEP BY STEP INSTRUCTION

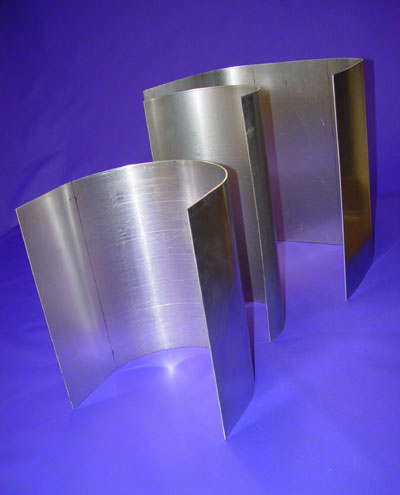
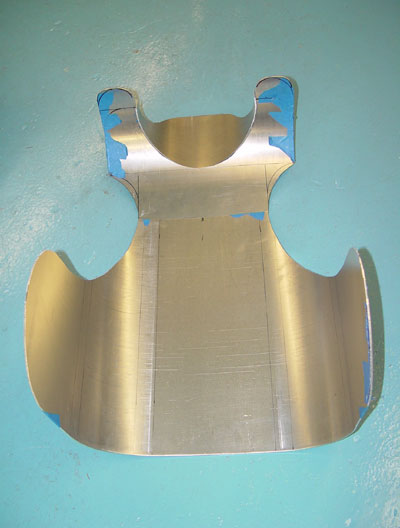
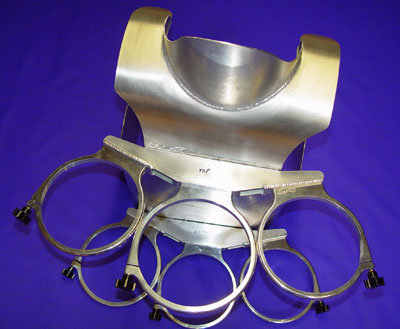
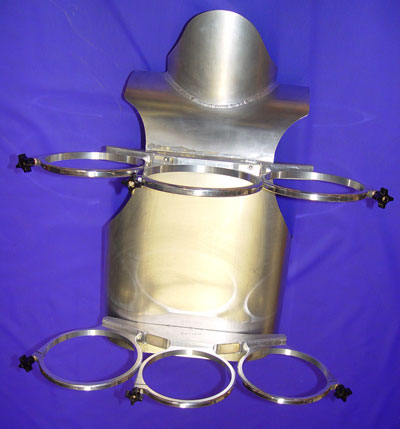
The first thing I started to build is the Corset. I decided I wanted the Rocket Belt to have a futuristic look, seeing I am calling it the 007 Rocket Belt.

So I started with the Corset so I could set the tone of the Rocket Belt, that I wanted to achieve. I started out by ordering two sheets of 90 thousands thick 5052 aluminum sheets from Discount steel in Minneapolis, Minnesota.

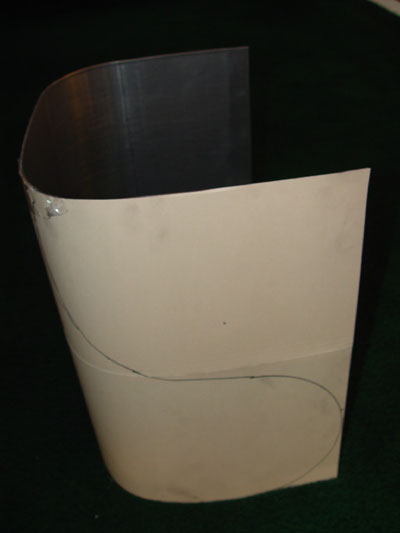
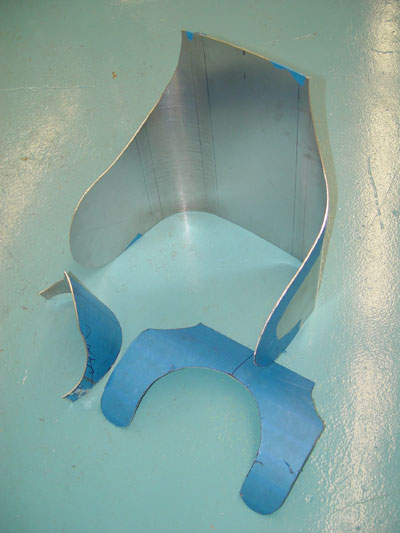
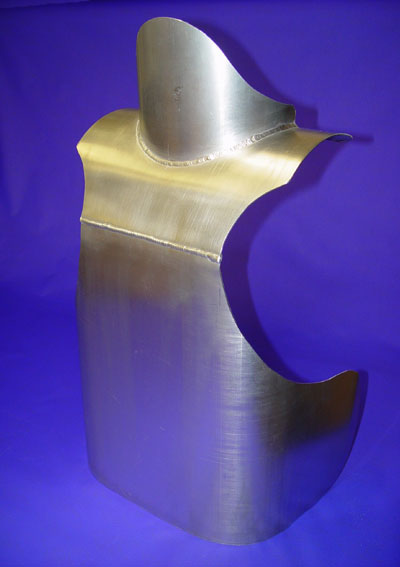
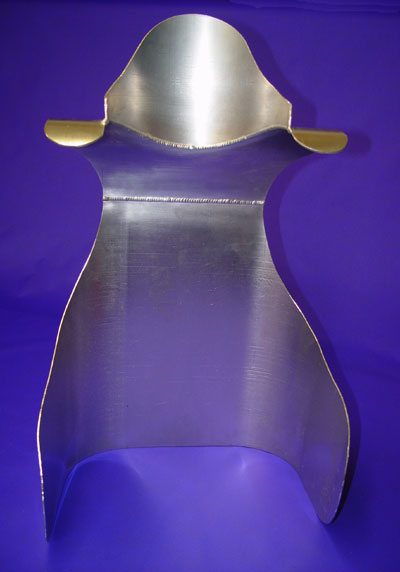
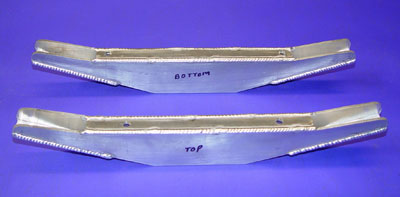
I cut and rolled three pieces. One for the hips, one for the shoulders and one to protect the head.

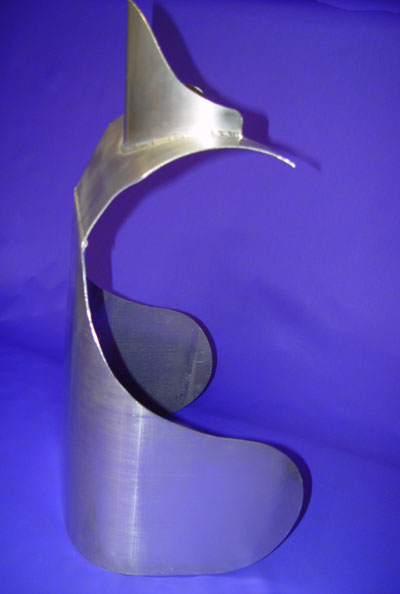
After I mount the tanks I will shape and do a little more cutting on the corset.

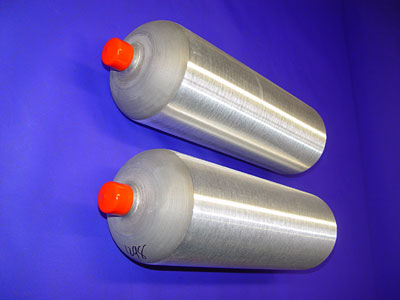
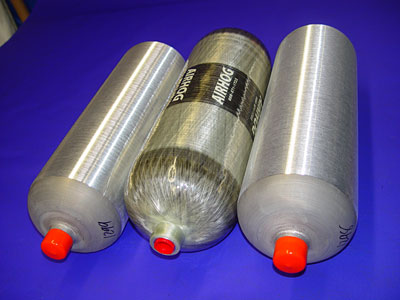
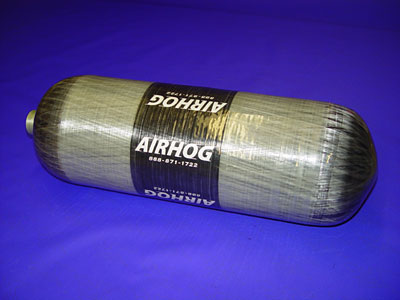
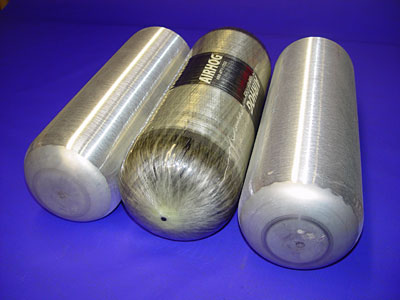
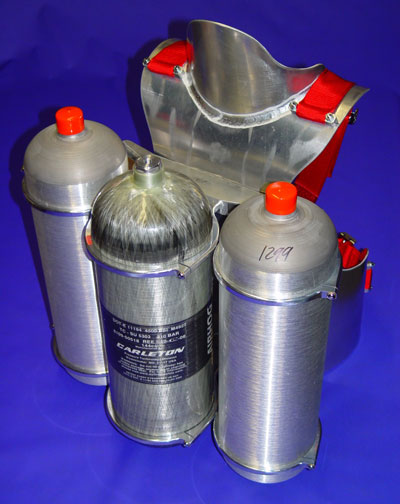
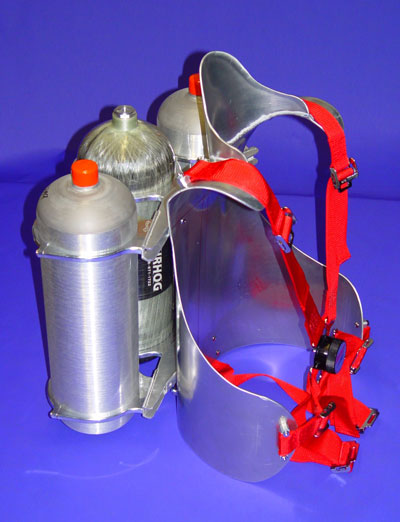
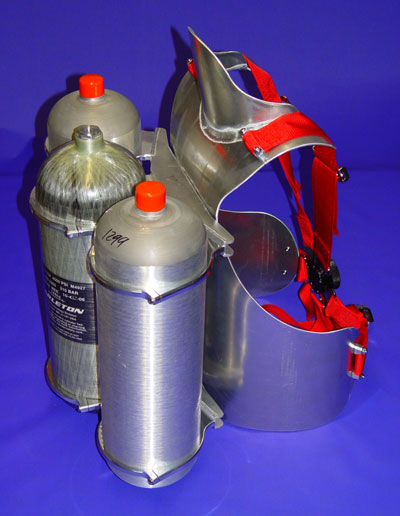
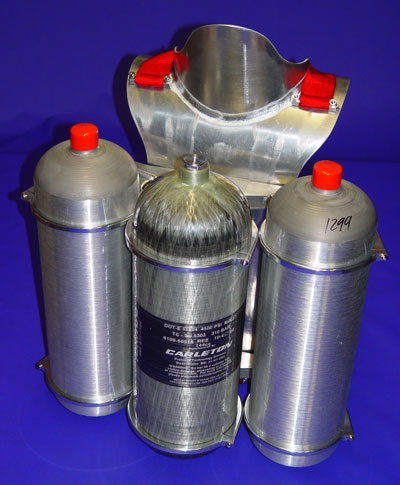
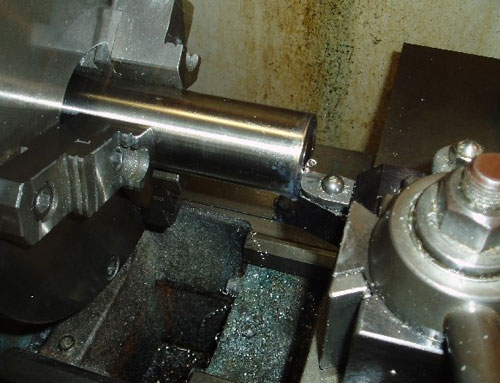
I have ordered my peroxide and nitrogen tanks. As soon as I receive them I will build the brackets to hold them unto the corset.


Three rolled pieces

I made a cardboard template before I cut the Alluvium

Here are the three pieces cut to shape

Checking the fit before I weld them

Back
Final shaping will come after tanks are mounted

Front
The welds will be ground off before polishing

Side
Cut out for arms

I spent a considerable amount of time looking for good D-2 Tanks. I found a company by the name of Essex Cryogenics. (Phone number 314 832-8077) They wanted $970.54 each, I thought that was a little spendy. So I checked into another company and ordered two aluminum tanks. These tanks only have one port, so they will have to be modified by adding another port.

I bought my nitrogen tank from the Air Hog Company (Phone number 1-888-871-1722) the tank is a 88 CU.FT. Carbon fiber filament wound over a aluminum bladder. The tank has a working pressure of 4500psi. Each tank cost $555.00 plus shipping.
My next step is to mount the tanks to the corset.


Two hydrogen peroxide tanks

How the tanks will be mounted

Air Hog nitrogen tank

Bottom of the tanks

The first corset I built, I decided I didn't like it because of the welded seam. So we desided to build another one, without the welded seam.   I really liked the look of it, so I ended up building two of them.  This project has now turn into a two belt project.  Here are some pictures of the the tank brackets I fabricated. Next step is built the Rocket Motor.


Tanks & Corset
Tanks & Corset
Tanks & Corset
Tanks & Corset
Brackets
Brackets
Two Corsets
Side
I met Mark Wells at the 2006 Rocket convention after talking to him I found out that he had done some machine work on some of the other Rocket Belts that were out there.
So when he told me that he was going to build a Rocket Belt for himself and he had some specialized tooling that he was going to use to machine his nozzles. So I asked Mark if we could do a little horse trading and make a set of nozzles for me when he was making his. Mark did a first class job on the set of nozzles he made for me. They are made out of 316L stainless steel.  They have a .640 throat.  Tube size is 1 3/4" with a 1/16 wall.

1. facing nozzle end

2. pilot hole

3. 15° throat taper

4. cut neck diameter

5. cut external taper

6. measure throat exit

7. cut jetavator radius

8.  part off nozzle

9. finished nozzles

1. turning the inlet taper

2. milling the jetavator pivots

3. A mandrel for holding the nozzle for milling the pivots and polishing


4. turning the pivot screws


5. finished nozzles with jetavators


This picture is the start of machining the rocket chamber of the Michaelson 007 Rocket Belt. I started out with a piece of 316L Stainless Steel.
Rocket Chamber
After many hours of machining here is the completed two piece Rocket Motor.
Rocket Chamber
Rocket Chamber

Injector Plate

This picture is of the the injector plate,and the support plate. The holes in them were cut with a laser
with incredible precision. It sure beats drilling them by hand.

Back of assembly
Back of assembly
Front of assembly
Front of assembly
Close up of down tubes welded to motor
Nozzle welded to down tube

Valve
Valve
Valve
Valve
Here are some pictures of my finished valve. I would to thank Dave Gibble for the incredible machine work
that he did on the valve. In time there will be more in-depth information on the valve.


Return

Copyright © 2006 All Rights Reserved. Site Designed and Maintained by WebStudio88.com.
No pictures or information may be reproduced without our express written consent.